How To Get Started On Pinterest
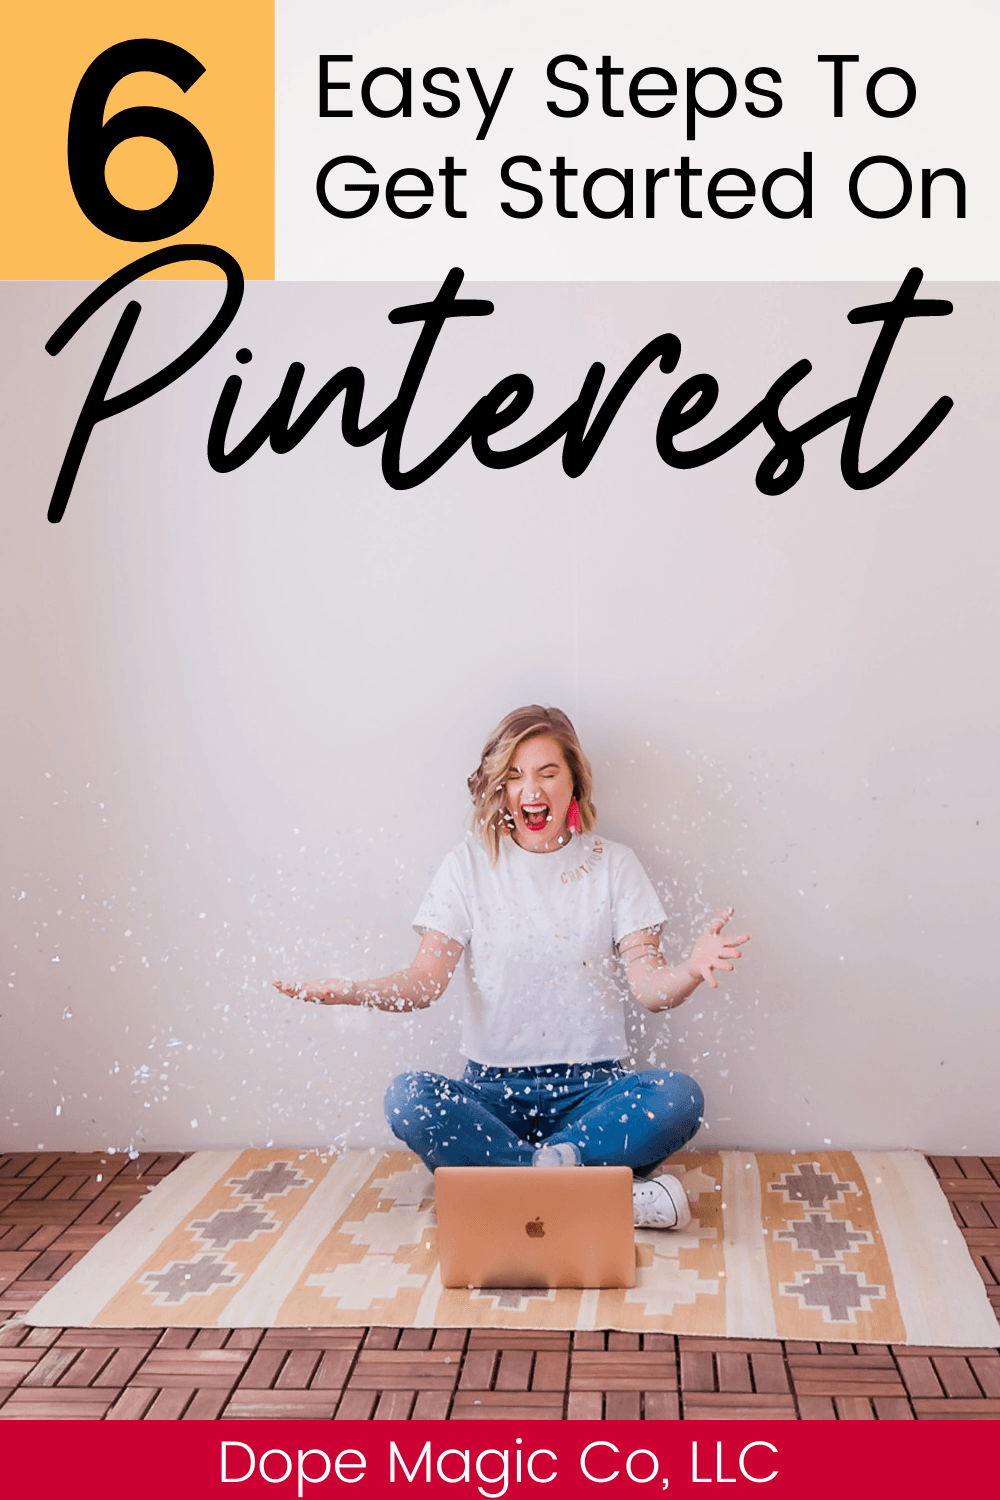
You’ve probably heard that Pinterest can be an amazing tool to drive traffic to your website, but you might be wondering, “Where do I begin?” In this guide, we’ll walk you through exactly how to get started on Pinterest, step by step!
About Pinterest
Pinterest is a visual search engine where users can find ideas and inspiration. You can find recipes, travel tips, fashion ideas, home decor, business advice, and so much more.
When a user visits Pinterest, they can search for any topic they’re interested in. Pinterest will show images (called pins) that match their search. Each pin is linked to a URL, and if a user sees something they like in a pin, they can simply click the image and they’ll be taken to the corresponding website.
Users can also save pins onto “Boards” so they can find them again later. Think of it as a digital collage or scrapbook where people can save ideas based on their interests.
As a business owner, you have the ability to create your own Pinterest pins to promote your products, services, and blog posts. Once you do, your pins could show up in the Pinterest search results, which could generate significant click-thoughts to your website or shop.
Pinterest has over 475 million users around the world as of 2021, so creating a Pinterest account for your business could mean more traffic, clients, and sales.
But how do you actually set up a Pinterest account? Let’s take a look!
1. Create your Pinterest Business Account
To get started on Pinterest, you’ll need to create a Pinterest Business Account. It’s free and business accounts provide more analytics and insights than personal accounts.
Sign up here and fill in your basic account information like your email, password, business name, and location.
2. Edit your Profile
Once you’ve made your business account, click on your profile picture on the right-hand side of the page and select “Settings.” On the left-hand side of the screen, you’ll see a link called “Edit Profile.”
Here, you can update your profile picture, display name, business bio, website URL, and more. When writing your bio information, it’s a good idea to include keywords that you want your brand to be associated with.
3. Claim Your Website
After you’ve set up your basic account information, you’ll want to claim your website and any social media profiles. It’s important to do this early on because it makes it easier for Pinterest to connect your content with your account. It also improves your analytics reporting.
Click on “Settings,” then in the left-hand column, click on the link that says “Claim.” Here you can add your website, Instagram page, Etsy page, Youtube channel, and Shopify store.
Click the “Claim” button next to the relevant platforms and follow the instructions in the pop-up window.
4. Create your boards
Once your profile is set up, it’s time to create your first boards. I know it’s exciting, but try not to go overboard on this step. Start small with just 2-3 boards that are super aligned with your brand.
For example, if you sell toys and clothing for children in an online shop, you might make a board for children’s clothing ideas and a board for children’s toy ideas.
If you offer graphic design services, you might make one board for color palette ideas, a second board for brand kit inspiration, and a third board for logo design ideas.
On your business account, it’s best not to have boards for unrelated hobbies or interests as this might confuse clients.
To make a board, click on your profile picture in the top right-hand corner. In the center of the page, you’ll see two buttons called “Created” and “Saved.” Click on “Saved” to see your boards and saved pins.
Then click the plus button on the right-hand side of the page. In the drop-down menu, you will see an option to create a board. Give the board a title, and click “Create.”
Once the board is live, you’ll be able to see it under your “Saved” tab.
Hover over the board and you’ll see a pencil icon in the bottom corner. Click here to add a board cover image and description.
5. Create Pins
Now that your account is set up and you’ve made your first board, the real fun begins! To make pins for Pinterest, most people use graphic design software like Canva, PicMonkey, or Photoshop.
Canva is our favorite tool because it’s free to use, easy to learn, and there are tons of nice-looking Pinterest templates included.
In Canva, click the large “Create a design” button in the top right-hand corner. You should see a default “Pinterest Pin” option in the drop-down menu, but if not, you can set the size to 1000 x 1500 px. Pinterest prefers images that are tall and narrow with a 2:3 aspect ratio.
You’ll be taken to a blank canvas that’s the correct size for Pinterest, and now you can let your creativity run wild. Choose from one of the many templates created by Canva, or make your own design from scratch.
Here are some pin design tips to keep in mind:
- Use large, clear lettering: Many people use Pinterest on their phones so your words should be visible even on a small screen. Stick to large, easy-to-read fonts.
- Use complementary colors: A nice contrast between light and dark makes your pins easier to read.
- Source your images: It’s a great idea to use images in your pin designs, but make sure you’re only choosing images you have permission to use. Downloading pictures from Google Images is a big no-no, so stick to using images from free-use sites like Unsplash, DepositPhotos, and Pexels.
- Use Your Branding: Include your website URL or brand logo on your pins to build name recognition and awareness.
Once your pin is ready to go, select the download button in the top right-hand corner of Canva.
The file will download to your computer and you can save it wherever you like. I like to make a special folder on my desktop to save pin images so it’s easy to find them.
6. Add your pin to Pinterest
On Pinterest, click on your profile image to go to your main page. Click on “Saved” and then click on the plus button in the right-hand corner. Select, “Create Pin.”
A box will pop up where you can upload your pin image and add a title and description. You can also add a URL to the pin. This URL is where the user will be taken if they click on your pin image.
Select which board you want the pin to be saved to, and click “Publish.” Congratulations, you’re officially on Pinterest!
Final Thoughts
Pinterest can be a great tool for increasing traffic to your website and getting your offerings in front of a wider audience. Often, the best way to get started with something new is to dive right in, so get those creative juices flowing and start pinning today!

Dope Magic Co™ is a web design agency based in Lexington, KY that offers vibrant and unique web design, marketing materials, e-commerce set up, and more for estheticians and salon owners.
Let’s talk!
Have a question or interested in a quote? Get in touch!
